
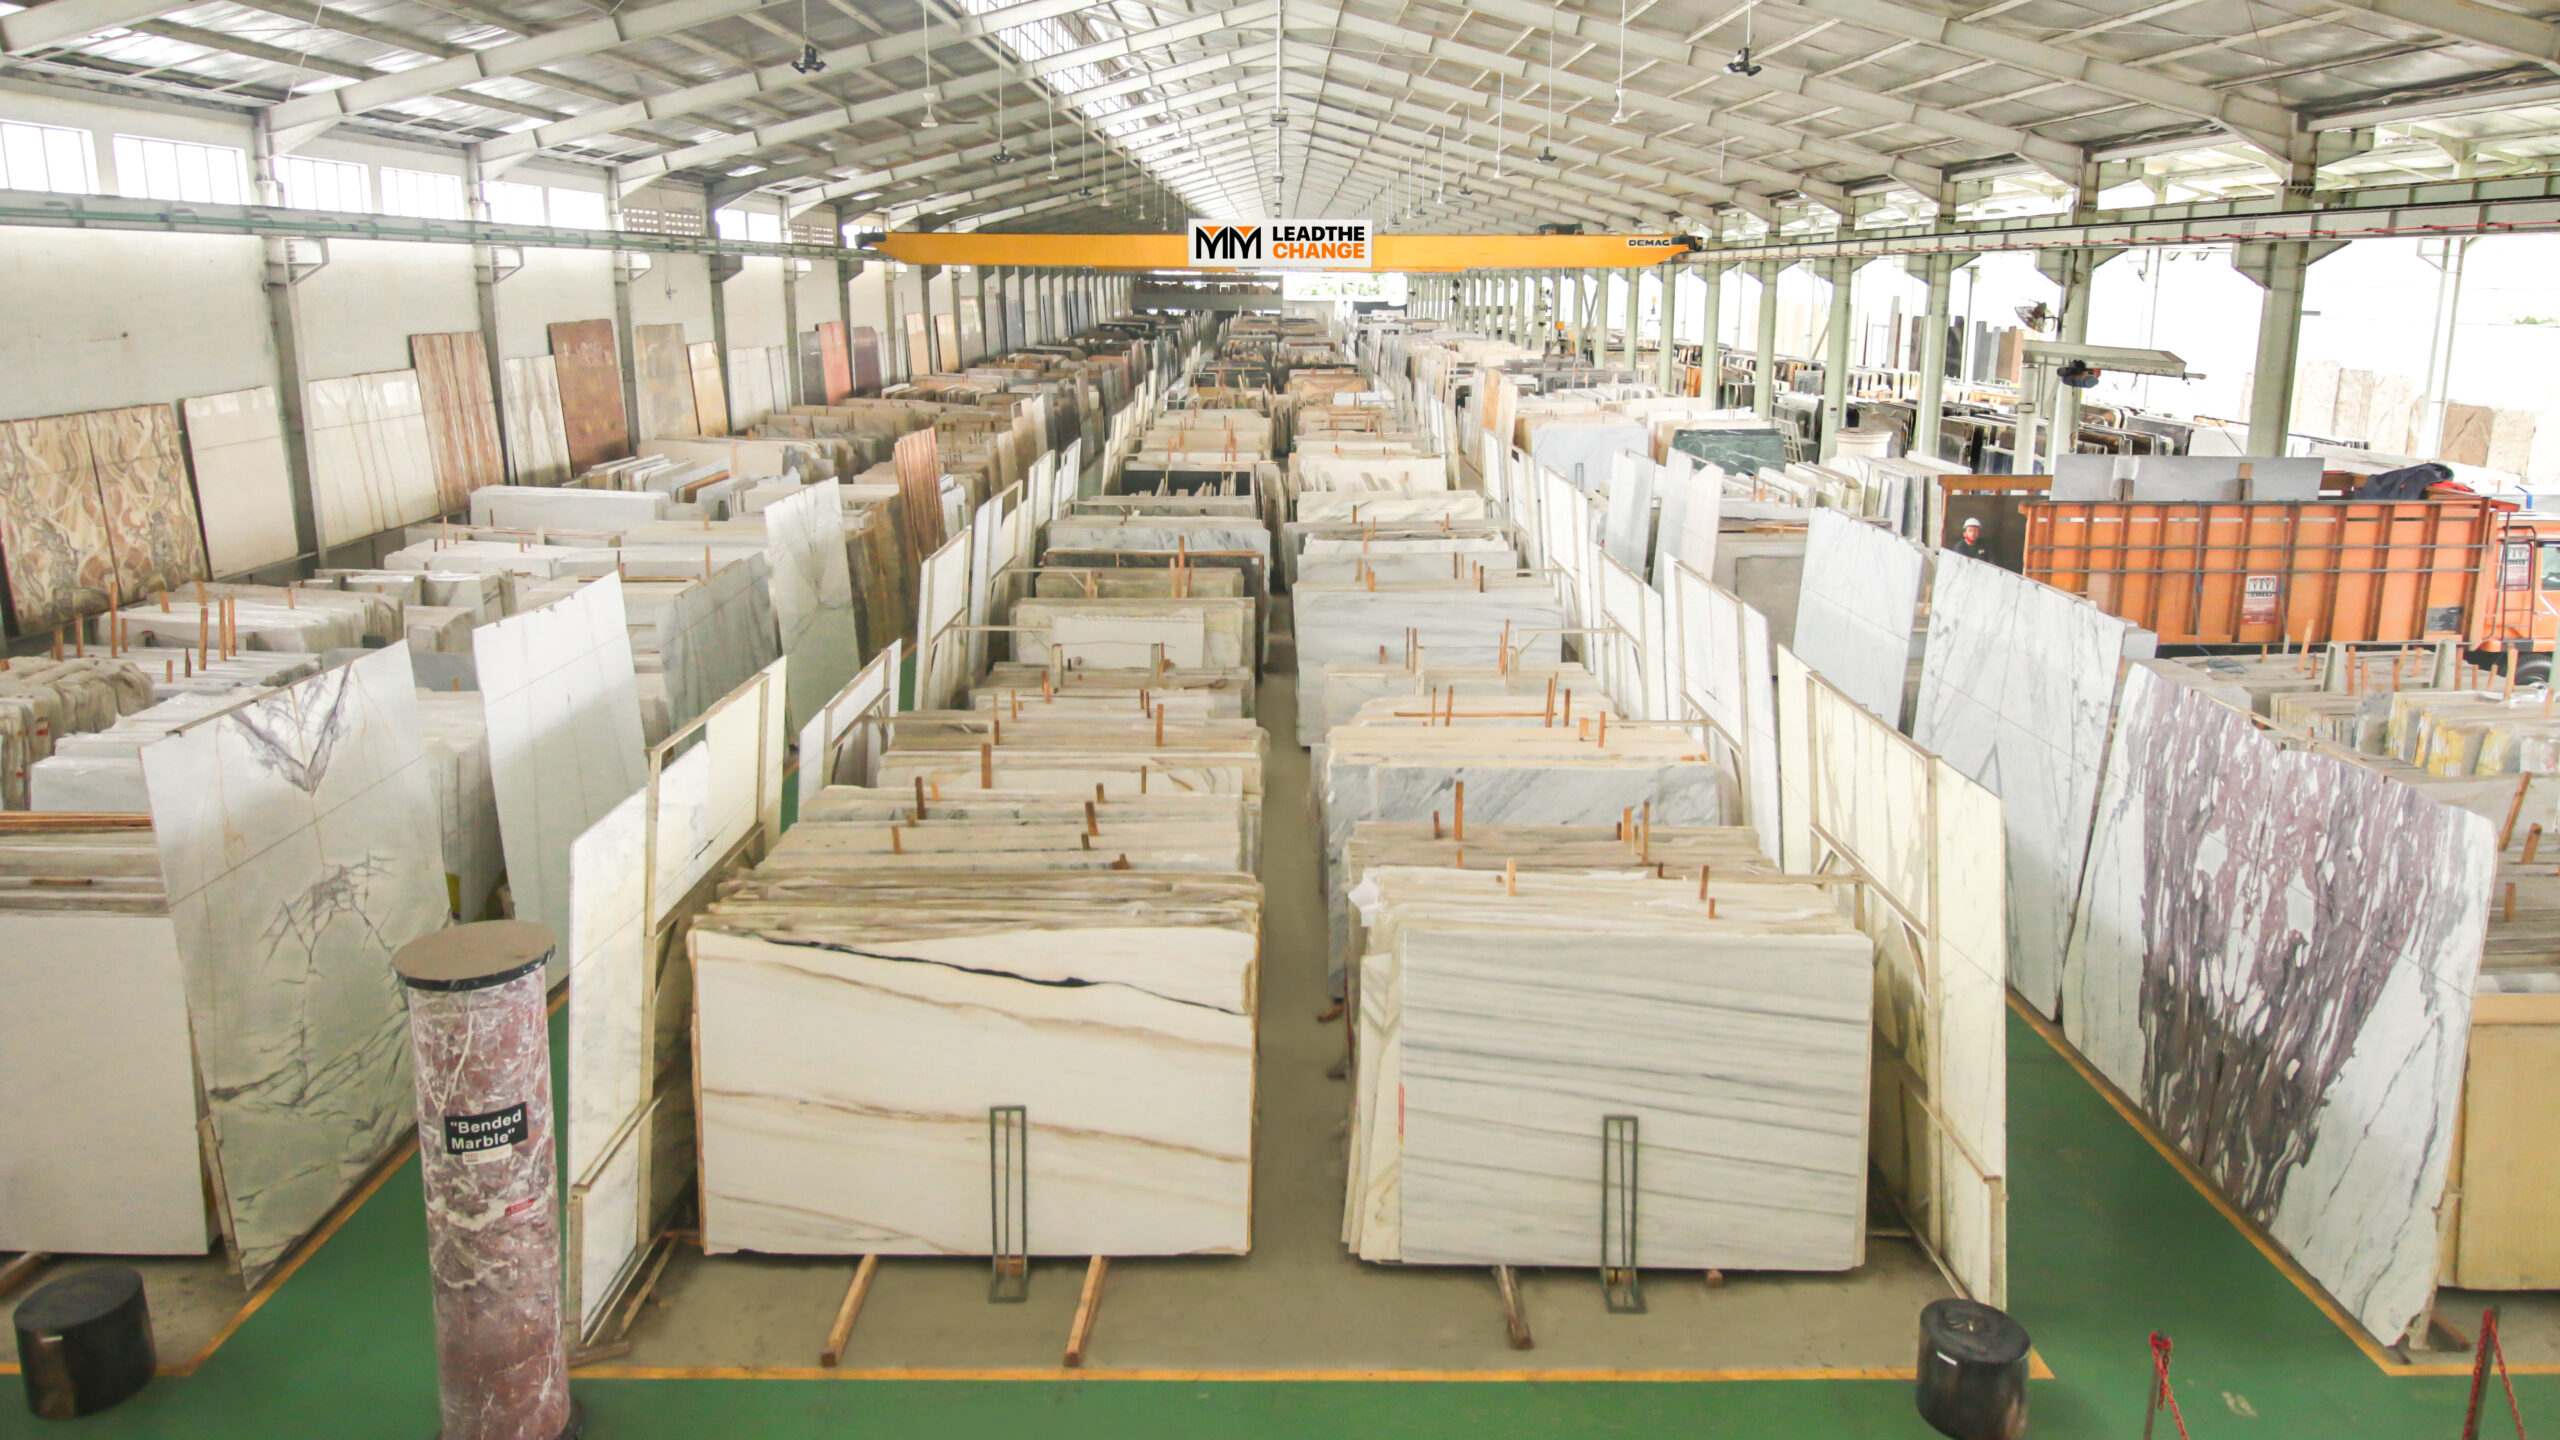
The marble fabrication process turns a raw slab into a finished, fitted piece in eight stages: slab selection, templating, layout, cutting, edges and cut-outs, surface finishing and protection, dry-fitting and packing, then installation. Most of the quality is decided before the first cut, in how the slabs are chosen and how the veining is laid out.
A marble slab arrives at a workshop as a large, polished rectangle, usually with a rough edge and a number painted on the back. It leaves as a kitchen top, a vanity, a stair, a wall. Between the two, a series of decisions is made that cannot be undone, because stone, once cut, stays cut.
This is what happens at each step, and what to ask for along the way.
Stage 1: why does slab selection come first?
Because the slab sets the ceiling for everything after it. No amount of skill in the workshop can add a vein that is not there, or remove a fissure that runs across the place where the sink will go.
Good practice is to see the actual slabs, not a sample, and to approve them by block and slab number. Consecutive slabs from one block share their colour and pattern, which matters whenever pieces sit side by side or need to be bookmatched. Our guide on how to choose marble slabs walks through what to look for in the yard.
MM Galleri holds more than 400 types of marble and more than 100 types of granite, so selection usually begins in a showroom, with the slabs themselves.
Stage 2: what is templating, and when should it happen?
Templating records the exact shape the stone must fill. For a kitchen top, it is done once the cabinets are installed and level, because a template taken from a drawing does not know that a wall leans or a corner is out of square.
The template marks the outline, the wall edges, the position of the sink and hob, tap holes, the overhang and any joint. Templates can be physical, cut from thin board, or digital, measured on site. Either way, the template is the contract between the room and the stone. If the room changes afterwards, the stone will not fit.
Stage 3: how is the veining laid out on the slab?
This is the stage most people never see, and the one that decides whether a finished piece looks designed or merely cut.
The template shapes are placed on the slab, physically or on a photograph of it, and moved until the veining falls where it should.
A strong vein might be set to run the length of an island, or to continue from the top down a waterfall end. A dark patch might be placed inside the sink cut-out, where it will be removed. Joints are put where the pattern can carry them.
For walls and large surfaces, consecutive slabs can be bookmatched, mirrored like the pages of an open book, so the veining flows symmetrically across a joint. The layout should be approved before cutting. It is the last moment when every option is still open.
Stage 4: how is marble cut?
Marble is cut wet, with diamond tooling, and the water does two jobs: it cools the cut and it keeps the dust down. Straight cuts give the outline. Curves, internal corners and inlay pieces are usually cut with an abrasive water jet, which follows a digital drawing and cuts without heat.
Every cut is slow by the standards of wood or metal, and deliberately so. Marble is brittle in thin sections, and a narrow strip between a sink opening and the front edge is the most fragile part of any kitchen top. Fabricators often strengthen such strips from beneath before the piece is moved.
Our workshops also cut waterjet inlay, such as the lotus medallion floor at Maha Vihara in Surabaya; the waterjet marble inlay article follows that process in detail.
Stage 5: edges, mitres and cut-outs
The edge is where a top is touched most and where it chips first, so its profile is both a design and a practical choice.
- Edge profiles. Eased, bevelled, pencil, bullnose, ogee and the layered triple bullnose are all shaped from the stone’s own edge. MM Galleri cuts and finishes these profiles, including triple bullnose and other decorative edges, in its own workshops.
- Mitred and built-up edges. For a thicker look, a strip of the same slab is bonded below the edge, or two pieces meet at a mitre so the vein turns the corner unbroken.
- Cut-outs. Sink and hob openings are cut with radiused inside corners, since a sharp internal corner concentrates stress and invites cracks. Undermount sink edges are profiled and finished, because they will be seen.
Stage 6: what happens to the surface?
The face is brought to its final finish: Polished, Honed, Leather or another texture. Edges and cut-outs are finished to match the face, so a Honed top does not end in a glossy edge by accident.
Many marbles carry natural fissures. These are filled and stabilised with resin, either by the processor before the slab is sold or in the workshop afterwards. Our guide to resined marble explains why this is normal and what to ask.
Then comes protection. Most marble is sealed with an impregnating sealer, which slows staining but does not stop acid from etching the surface. For clients who want more, MM Galleri developed StainZero in 2024: our own factory-applied coating for any natural stone, made to resist scratches, heat and acids. It is applied in our workshops, not on site.
Stage 7: why dry-fit before installation?
Because the workshop is the cheapest place to find a problem. In a dry-fit, the finished pieces are laid out together as they will sit in the room. Joints are checked, the veining is checked across them, and edge profiles are compared piece to piece.
At MM Galleri, pieces are cut, finished and prefabricated in our own workshops before installation. That is the principle behind our 8MM panels too: since 2002 we have sliced stone thin enough to laminate onto glass, wood or metal, which only works if the finishing is done in the factory rather than on a building site.
Finished marble is crated and secured standing on edge. It travels standing up, never flat, because a large slab supported only at its ends can crack under its own weight.
Stage 8: how is a marble top installed?
The base must be flat and level, and strong enough for the weight. The pieces are set on a continuous support or on a frame, bonded, and levelled. Joints are filled with resin tinted to match the stone and finished flush. Sinks are fixed from below.
Once the top is in, the joints and any field-finished areas are sealed. A short care briefing for the owner belongs here too: wipe acids promptly, use a pH-neutral cleaner, and never stand on an unsupported overhang.
The marble fabrication process at a glance
| Stage | What happens | What to check or approve |
|---|---|---|
| 1. Slab selection | Actual slabs chosen by block and number | Fissures, colour, enough stone for waste |
| 2. Templating | Exact shape recorded on site | Cabinets installed and level first |
| 3. Layout | Template placed on the slab, veining positioned | Approve the layout before cutting |
| 4. Cutting | Wet cutting; curves and inlay by water jet | Narrow strips supported |
| 5. Edges and cut-outs | Profiles, mitres, sink and hob openings | Radiused inside corners; edge matches face |
| 6. Finishing and protection | Final finish, resin, sealer or StainZero | Finish consistent on face and edges |
| 7. Dry-fit and packing | Pieces laid out together, then crated on edge | Joints and vein flow across pieces |
| 8. Installation | Set, bonded, levelled, joints filled, sealed | Level base; flush joints |
What happens to the stone dust?
Cutting and polishing marble produces fine stone dust, carried away in the cutting water. In our workshops, that dust is processed in-house into natural fertilizer for reforestation rather than sent away as waste. The full story is in our article on sustainable natural stone.
Frequently asked questions
Should I see my marble slabs before they are cut?
Yes. A sample shows the type of stone, not the slab you will live with. Seeing the slabs lets you approve the actual veining, reject a fissure in the wrong place and mark consecutive slabs for matching. Approve the layout on the slab as well, since that is the last point where every option is open.
Is marble cut in a factory or on site?
The best work is cut and finished in a workshop, where pieces can be supported, finished evenly and dry-fitted. On site, only small adjustments and the final joint work should remain. At MM Galleri, pieces are cut, finished and prefabricated in our own workshops in Surabaya before installation.
Why do sink cut-outs have rounded corners?
A sharp inside corner concentrates stress at a single point, and marble is brittle. A small radius spreads that stress and makes cracks much less likely, especially in the narrow strips in front of and behind a sink. Narrow strips are often strengthened from beneath as well before the piece is lifted.
Does sealing stop marble from etching?
No. A sealer slows the absorption of liquids, so it helps against staining, but etching is a chemical reaction between acid and the calcite in marble. Lemon juice, vinegar or wine can still dull a sealed surface. Wipe acids promptly, or ask about a factory-applied protective coating such as StainZero.
Millions of years in the making. Finished in our own workshops.